Got (Coconut) Milk?
Milk, it does the body good. Or so says the American Dairy Farmers and the memorable 1990's advertising campaign. (I may be dating myself, so feel free to click on the links and remind yourself of the campaign or see these commercials for the very first time.)
While I do love milk (raw, if possible), I am also a big believer in non-dairy milks. Almond and coconut milk are my two favorites. I recently made homemade almond milk and will now never buy the store-bought variety again. Based on the success of the post, many of you also agreed that almond milk is so easy to make and tried it at home with great results.
Being that I also have an affinity for coconut milk, I was overjoyed when I stumbled upon a homemade recipe in one of the many cookbooks I have been checking out from the local library. For the uber-healthy, finding a can of coconut milk free from BPA (Bisphenol-A) and without any guar gum or similar ingredients (other than coconut and water) can be a challenge.
As soon as I read through the recipe, it took me less than five minutes to gather a single cup of unsweetened shredded coconut together and bring two cups of filtered water to boil and I was making my first batch of homemade coconut milk. No carrageenans (click here for a shopping guide to avoid organic foods with carrageenan), no fear of BPA in the can and no additives. Just coconut and water.
Pure. Bliss*.
*Visit again soon to see what deliciousness I concoct with this first batch of homemade coconut milk.
Buen provecho!
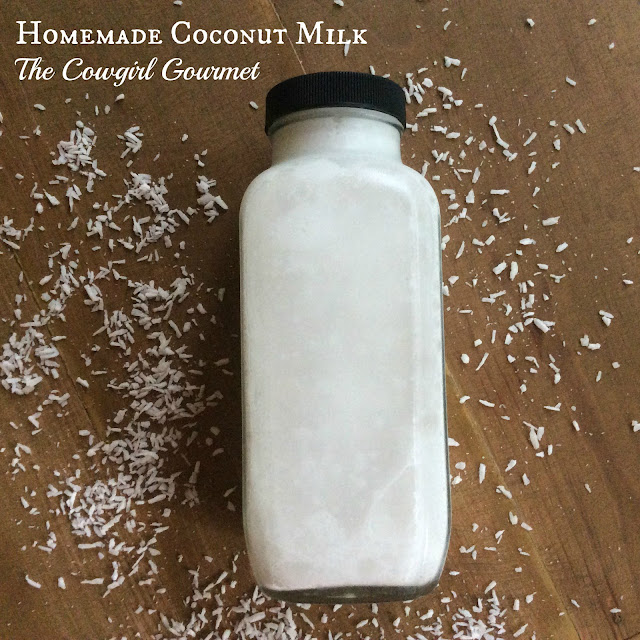 Homemade Coconut Milk
The Cowgirl Gourmet found this recipe in one of the many fabulous cookbooks from the library, but I really don't remember which one
Print recipe
Coconut fans will delight knowing a homemade coconut milk is just two ingredients and a few minutes away.
Makes 2 cups
1 cup unsweetened shredded coconut
2 cups filtered boiling water
A pinch of pink Himalayan sea salt
In a blender, add the coconut and pour the boiling water. Let it sit for a minute and then blend on high.
 Let the blender go for about two minutes, stopping as needed to let everything cool down. When you stop the blender, remove the lid so the hot air escapes. Continue blending until it is a beautiful, creamy liquid. Remove the lid and let it cool down for a few minutes.
Place a sieve over a bowl and carefully pour the coconut milk over the sieve to remove all of the coconut and allow the milk to drain into the bowl.
 Discard the coconut and reserve the milk in a glass bottle. Refrigerate to chill thoroughly and use within a week.
While I do love milk (raw, if possible), I am also a big believer in non-dairy milks. Almond and coconut milk are my two favorites. I recently made homemade almond milk and will now never buy the store-bought variety again. Based on the success of the post, many of you also agreed that almond milk is so easy to make and tried it at home with great results.
Being that I also have an affinity for coconut milk, I was overjoyed when I stumbled upon a homemade recipe in one of the many cookbooks I have been checking out from the local library. For the uber-healthy, finding a can of coconut milk free from BPA (Bisphenol-A) and without any guar gum or similar ingredients (other than coconut and water) can be a challenge.
As soon as I read through the recipe, it took me less than five minutes to gather a single cup of unsweetened shredded coconut together and bring two cups of filtered water to boil and I was making my first batch of homemade coconut milk. No carrageenans (click here for a shopping guide to avoid organic foods with carrageenan), no fear of BPA in the can and no additives. Just coconut and water.
Pure. Bliss*.
*Visit again soon to see what deliciousness I concoct with this first batch of homemade coconut milk.
Buen provecho!

The Cowgirl Gourmet found this recipe in one of the many fabulous cookbooks from the library, but I really don't remember which one
Print recipe
Coconut fans will delight knowing a homemade coconut milk is just two ingredients and a few minutes away.
Makes 2 cups
1 cup unsweetened shredded coconut
2 cups filtered boiling water
A pinch of pink Himalayan sea salt
In a blender, add the coconut and pour the boiling water. Let it sit for a minute and then blend on high.

Place a sieve over a bowl and carefully pour the coconut milk over the sieve to remove all of the coconut and allow the milk to drain into the bowl.


.JPG)

Comments